Office
#3 1st Cross, Channakeshava Nagar, Ayyappa Garden, Adugodi,
Bangalore , karnataka
india (560030)

Contact :+916364775590
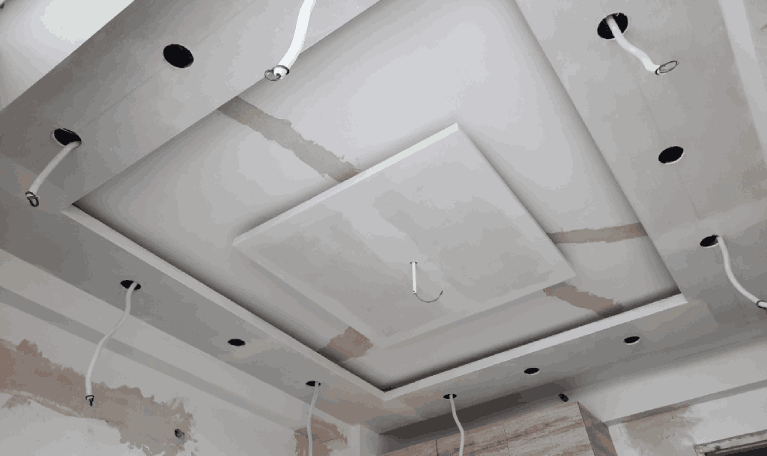
Before any actual installation, it's crucial to plan the layout of the ceiling. This involves marking the positions on the ceiling where the channels will be fixed. A laser level can be used to ensure that the marks align perfectly horizontal, ensuring a level ceiling. The installation begins with fixing the perimeter channels along the marked lines on the walls. These channels are usually secured using appropriate fasteners or screws, drilled into the wall. Ensuring that these perimeter channels are level sets the foundation for the rest of the ceiling structure. Next, the main channels are installed. These are typically suspended from the actual ceiling using GI wires or metal fasteners. The spacing between the wires depends on the weight of the ceiling material and local building codes but is typically around 1000 mm. It's important that these main channels are straight and parallel to each other for the integrity of the ceiling structure.After the main channels are secured, cross tees are inserted perpendicularly to connect them. These tees help in providing additional support and maintaining the framework’s rigidity. The distance between each cross tee is usually determined by the size of the ceiling panels or boards that will be installed and can vary between 400 mm to 600 mm.